6 Tricks Make Sharper Photos
Sharp focus is the foundation of a great photo. You can crop to fix poor composition, tweak contrast and exposure, but if the subject is out of focus, yuck. Here are six techniques for getting sharper photos.
1. Use a Fast Shutter Setting for Sharper Photos
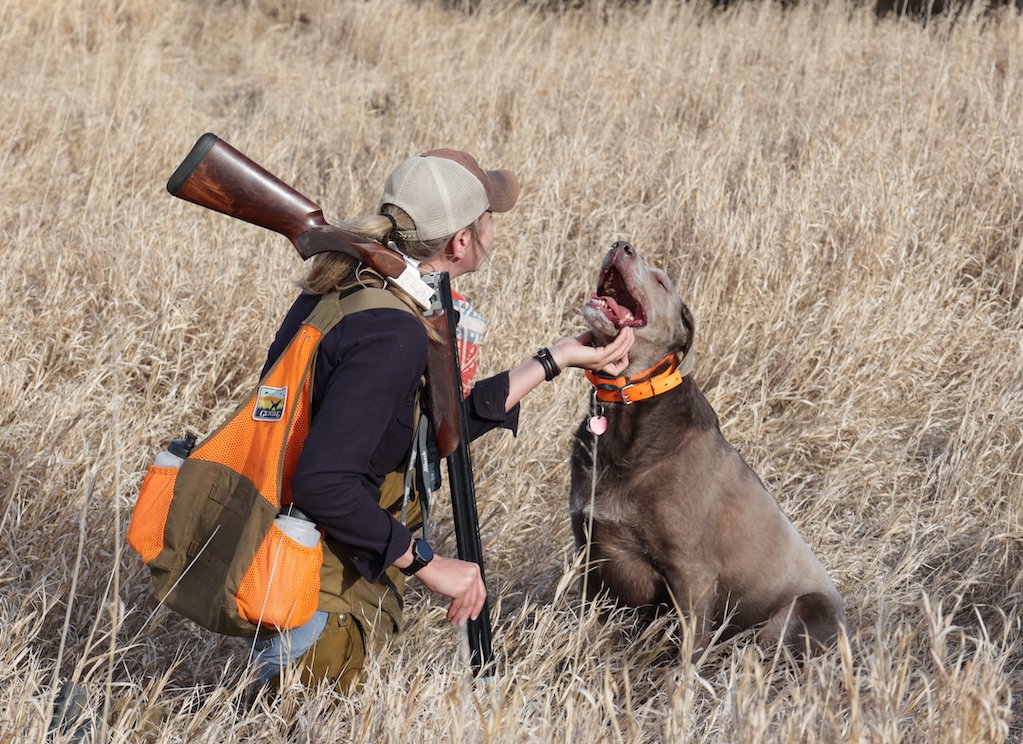
A fast shutter stops motion blur from camera movement and subject movement. If there’s a chance your subject is going to move during your exposure, set the shutter high enough to freeze that motion. A setting of 1/250 sec. should be fast enough to stop a walking human, but 1/500 sec. might be needed to lock down a quickly turning head — and 1/100 sec. might be necessary to stop a small bird’s head motion. 1/500 sec. is a reasonable speed for general work, but 1/1000 sec. buys you a little insurance.
As for stopping your own shakes (camera movement,) the standard rule is to set the shutter speed equal to or at least one stop faster than the focal length of your lens expressed as a fraction. A 200mm lens, then, should be shot at 1/250 sec., a 400mm at 1/500 sec., etc. Adding one more speed is necessary for some folks with significant tremor. For more details on shutter speeds, check out Shutter Speed Essentials on an earlier posting of Photo 101.

You wouldn't imagine a ponderous bison needed mush shutter speed to stop, but this one did. 1/1000 sec. at f/8 did the trick.
2. Get Sharper Photos With a Tripod or Bean Bag
Locking a camera onto a steady support eliminates all chance for camera shake. A tripod is the standard camera stand. Tripods are relatively compact, light and quick to use. Consider how you travel when selecting a tripod. If you need to fit the tripod into a small space, you’ll need shorter legs. The more leg sections in a tripod, the more time and hassle needed to set it up. The longer and fewer each leg section, the faster it runs, but more space it takes. To minimize weight, go with carbon fiber legs. Less costly are aluminum legs. There are many great tripods on the market like this Benro Travel Angel 2 carbon fiber tripod or this less expensive aluminum Monfrotto Be Free Compact tripod.

Shooting in a pond with a handheld lens at 117mm, I had to compromise with a 1/125 sec. shutter to stop camera movement and f/13 to increase front to back depth-of-focus.
Faster to plop into action is a simple bean bag. I’m a big fan of these, whether they are homemade or an elaborate commercial model. Bean bags can be laid on the ground, plopped on a boulder, table top, car window, tree limb — nearly anywhere to make an motionless platform for a camera and lens. The bigger the surface area of the bag and the more of the camera and lens it touches, the steadier the device and -- sharper photos.
Pro Tip: When using telephoto lenses in wind, you’ll find a bean bag can dampen camera motion better than even the biggest tripod. Tripods balance cameras on a single point. This exacerbates wind vibrations and even internal vibrations from mirror slap. Bean bags spread contact over more area and help dampen such vibrations. If you can set the camera on the bean bag, lay the bag over the lens and camera to dampen these vibrations and get sharper photos. Check out Five Free Camera Stabilizers for more tips on steadying your camera.
3. Use Autofocus Correctly
The human eye often misses perfect focus. Today’s cameras and lenses rarely do — if you use them correctly. Autofocus can be tricky depending on which setting you use. Choose too many focus points and you might end up capturing a sharp shot of foreground grass or water instead of your subject. Use autofocus incorrectly and you might end up re-focusing on the background when you compose with the subject off center. There are procedures, settings and tricks you must learn in order to use autofocus effectively.
4. Set a Higher F-Stop Number for Sharper Photos
Increasing a lens’s F-stop number increases the depth of focus in any scene. If your actual lens focus is slightly off, the added depth of focus from a high f-stop number can save your bacon. What a high f-stop number does is force the internal lens diaphragm (aperture blades) to squeeze a smaller hole through which the light must pass. Squeezing through this smaller hole is what produces the increased depth-of-focus. For full details on f-stops and apertures, read Understanding F-Stops and Apertures.

At first glance this cottontail appears grossly out of focus, but a closer look reveals ears and eye dead sharp. Lucky grab shot, but 1/800 sec. helped. F/5.6 was needed to get that much speed in the early morning light.
5. Lock Up The Mirror
DSLR stands for Digital Single Lens Reflex. The “Reflex” refers to the image light reflecting off a mirror to the prism through which you see in the viewfinder. In order to expose the shutter to the image light, this mirror must flip up and out of the way a split second before the shutter opens to expose the sensor. The rapid, somewhat violent motion of this flipping mirror induces a tiny bit of vibration into the system, and this can record as motion blur at slower shutter speeds. The worst speeds seem to be in the 1/30 and 1/15 sec. range. Shorter speeds stop the blur and longer ones stretch it out enough to camouflage the motion. Regardless, when shooting at 1/30 sec. or slower, it’s wise to lock up the mirror before making the exposure. Mirrors used to lock up manually with a little switch on the side of the camera. Most modern digital cameras have a mirror lock up setting controlled electronically. Usually you select this, then click the shutter twice, first to lift the mirror, then to activate the shutter.

You can sharpen slow exposures of unmoving subjects by locking the mirror up before dropping the shutter.
6. Magnify Manual Focus for Low Contrast Subjects
Sometimes cameras can’t focus on low contrast subjects in low light. This is when you should use the magnified image on your monitor to manually focus. Of course, this requires a camera with “live” shooting capabilities, meaning the back monitor shows what the lens is seeing. You then select a magnification button to magnify that image, making it easier to detect perfect focus as you turn the lens’ focus control.
Ron Spomer has been photographing the outdoors with SLR cameras since 1972. His images have been published thousands of times in hundreds of media outlets.