Best Safari Binocular Explained

Making your low-cost plains game hunt without a safari binocular is like hiking the Pacific Crest Trail without boots. It can be done, but it won’t be as much fun. To maximize safari fun, take along your best safari binocular. Here's how to find it:
Why a Best Safari Binocular?
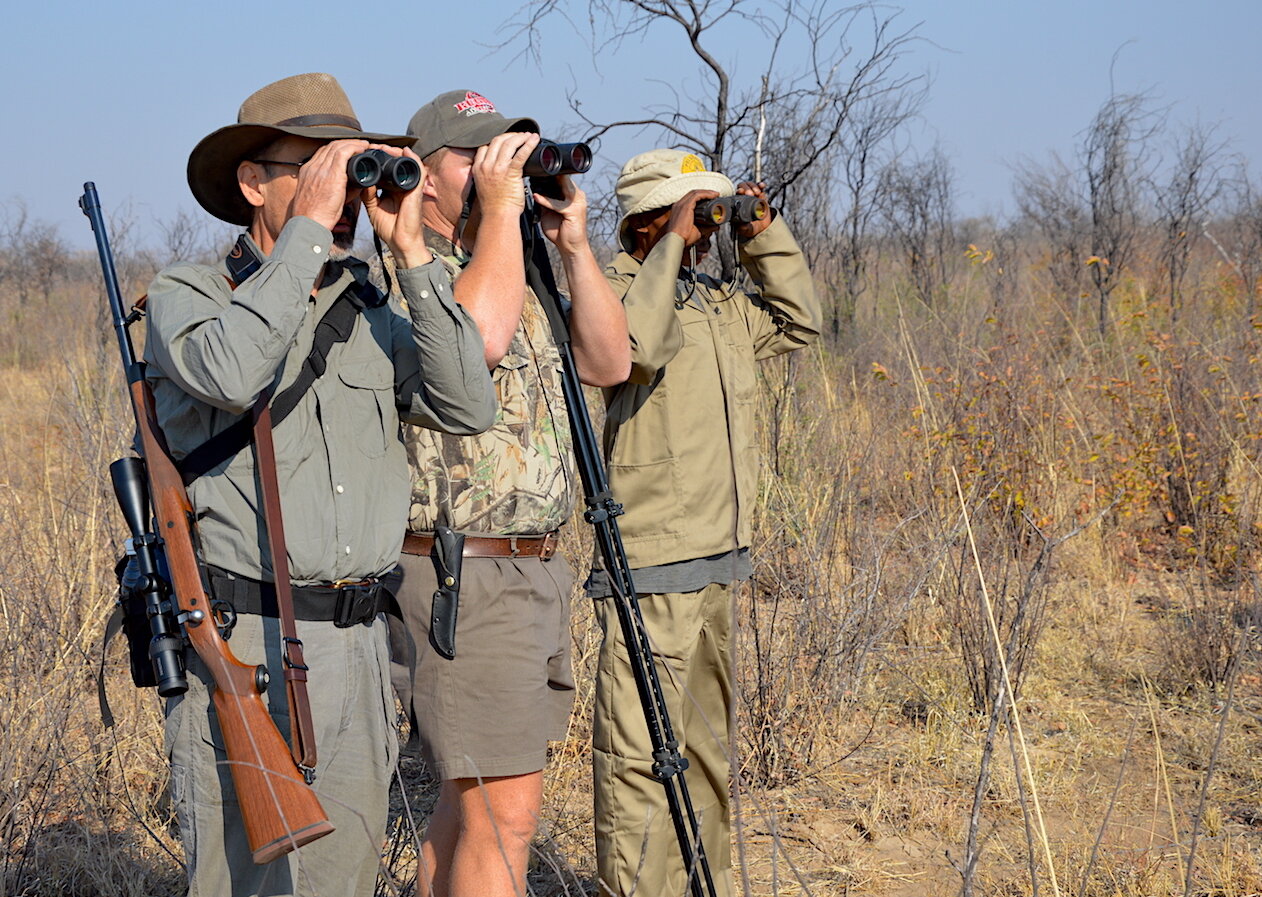
Few of us would dream of hunting big game with the naked eye only these days, but I’ve heard hunters recommend doing just that on safari. “Your PH will tell you what to shoot.” True, but he won’t describe the gorgeous colors of a lilac-breasted roller, the toothy smile of a crocodile or the sparkle in the massive eye of a diminutive dik dik peeking from the brush. Forget your binocular and you’ll miss 80 percent of your visual adventure.In a new and exotic land like Namibia or South Africa, you’ll want bright, crisp, enlarged views of everything. Each day is a joyful discovery, and an 8X safari binocular makes it eight times better.
The binocular you use for deer or elk hunting in the States can suffice in Africa, but if it’s marginal, you should upgrade. I don’t think it’s necessary or even wise to upgrade your rifle for a safari, but a better binocular? That's a wise, lifetime investment. Optical quality really matters when you’re trying to distinguish a patch of hair and curl of dark horn through the brush. You don’t have to spend $2,000, $1,000 or even $500 to get a sharp, bright, effective binocular, but the less you spend, the more important it is to understand what makes a binocular good, bad and horrible. That way you can use your limited funds to purchase the most important ingredients. But I urge you to stretch as much as you can on this purchase. Don't be that guy who wastes $60 on one bad unit, then $120 on another and on up the scale before finding an instrument you will love and use for a lifetime.
Porro Prism vs. Roof Prism in Best Safari Binocular
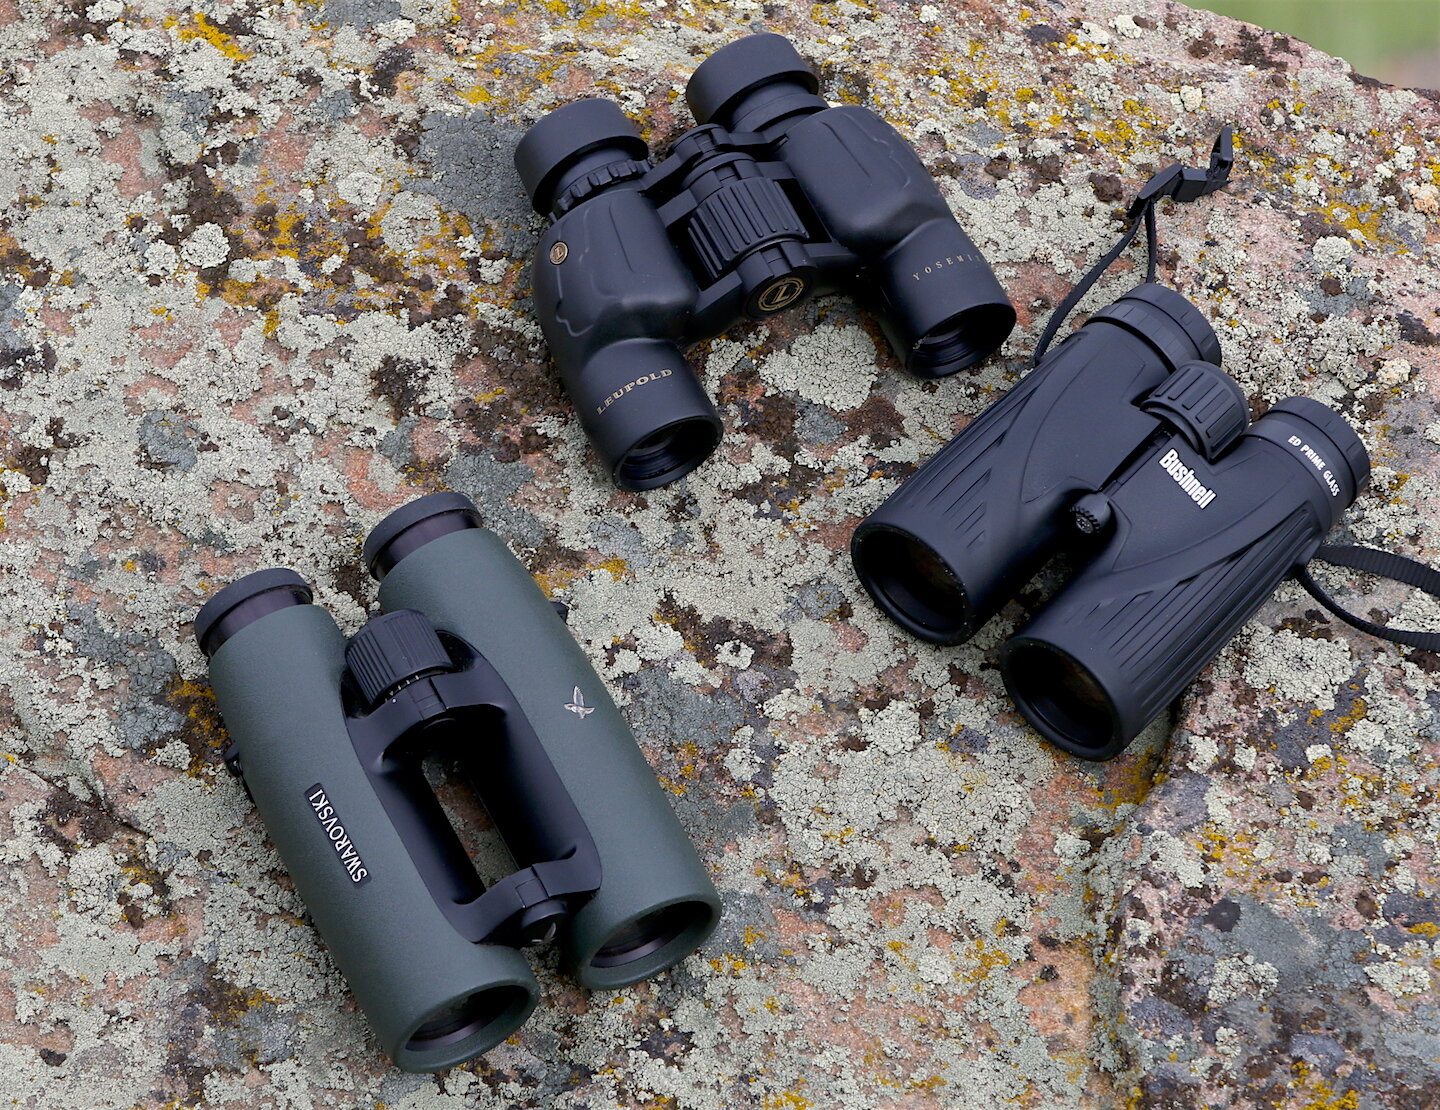
This image shows samples of Porro prism and roof prism best safari binoculars in various price ranges.
Porro prisms, like Leupold’s BX-1 Yosemite, Bushnell’s Legacy WP, Alpen's Shasta Ridge, and Nikon’s Action EX models are binoculars with those old-fashioned, stepped barrels with the objective lenses set farther apart than the eyepiece lenses. While not as sleek and compact as modern, straight barrel roof prisms, Porros can be sharper and brighter for about 1/3 to 1/2 the cost. They can also accommodate especially narrow- or wide-set eyes. The Porro prisms do not require mirrors, BaK-4 glass or Phase coatings like roof prisms do, but they can more easily be bumped out of alignment. For $80 to $200 you should get a bright, sharp view through a Porro prism binocular. Take reasonable care of it, and it should serve you well for two or three decades. You can read more about Porro prisms in this previous post on RSO.
Roof prisms are more compact than Porros but, like some pizzas, require “better ingredients” for equal optical performance. Figure to spend $200 and up for a decent roof prism. Cough up about $350 to $500 and you’re getting so close to the optical performance of a $1,000 unit that you might not be able to detect the difference. A top-line model like Swarovski EL can run $1,800 to nearly $4,000. If you can afford it, duh! Buy it. You’ll have the best with no need to upgrade later. But, if you can’t find $2,000 between the sofa cushions, check out some of the new $300 to $500 roof models. Many, like Leupold’s new BX-3 Mojave and Bushnell’s Legend Ultra HD are impressively bright and sharp at that price. I've been impressed by the view through several Alpens and recently a new Styrka S7. The truth is today's binocular market is awash in new brands and models, many of which are so close in quality that it's hard to pick a winner. The upside is that prices have tumbled thanks to all the competition. It's a buyer's market and a great time to buy a high quality binocular. Whatever you spend for a roof prism instrument, insist on phase-coated, BaK-4 prism glass and fully multicoated lenses for maximum brightness. Those multiple layers of anti-reflection coatings on every air-to-glass surface are what really increase brightness. You'll need anti-reflections in Porro units, too.
Some roof prism designs use a mirror on one surface, and the quality of this mirror impacts light transmission through the unit. Silver makes for an excellent mirror, but a dielectric mirror is slightly better. Just don't settle for an aluminum mirror.
Best Safari Binocular Power Options
Don’t go overboard with magnification. More power means enhanced shake, less field-of-view and less depth-of-focus. Few users can handle more than 10X. I prefer 6X in brush and woods, but in the open deserts common in much of southern Africa, 10X is useful. Just be aware you’ll feel a bit cramped in brush and thickets due to the narrower field-of-view at 10X. My all-round choice is 8X, the 30-06 of binocular powers.

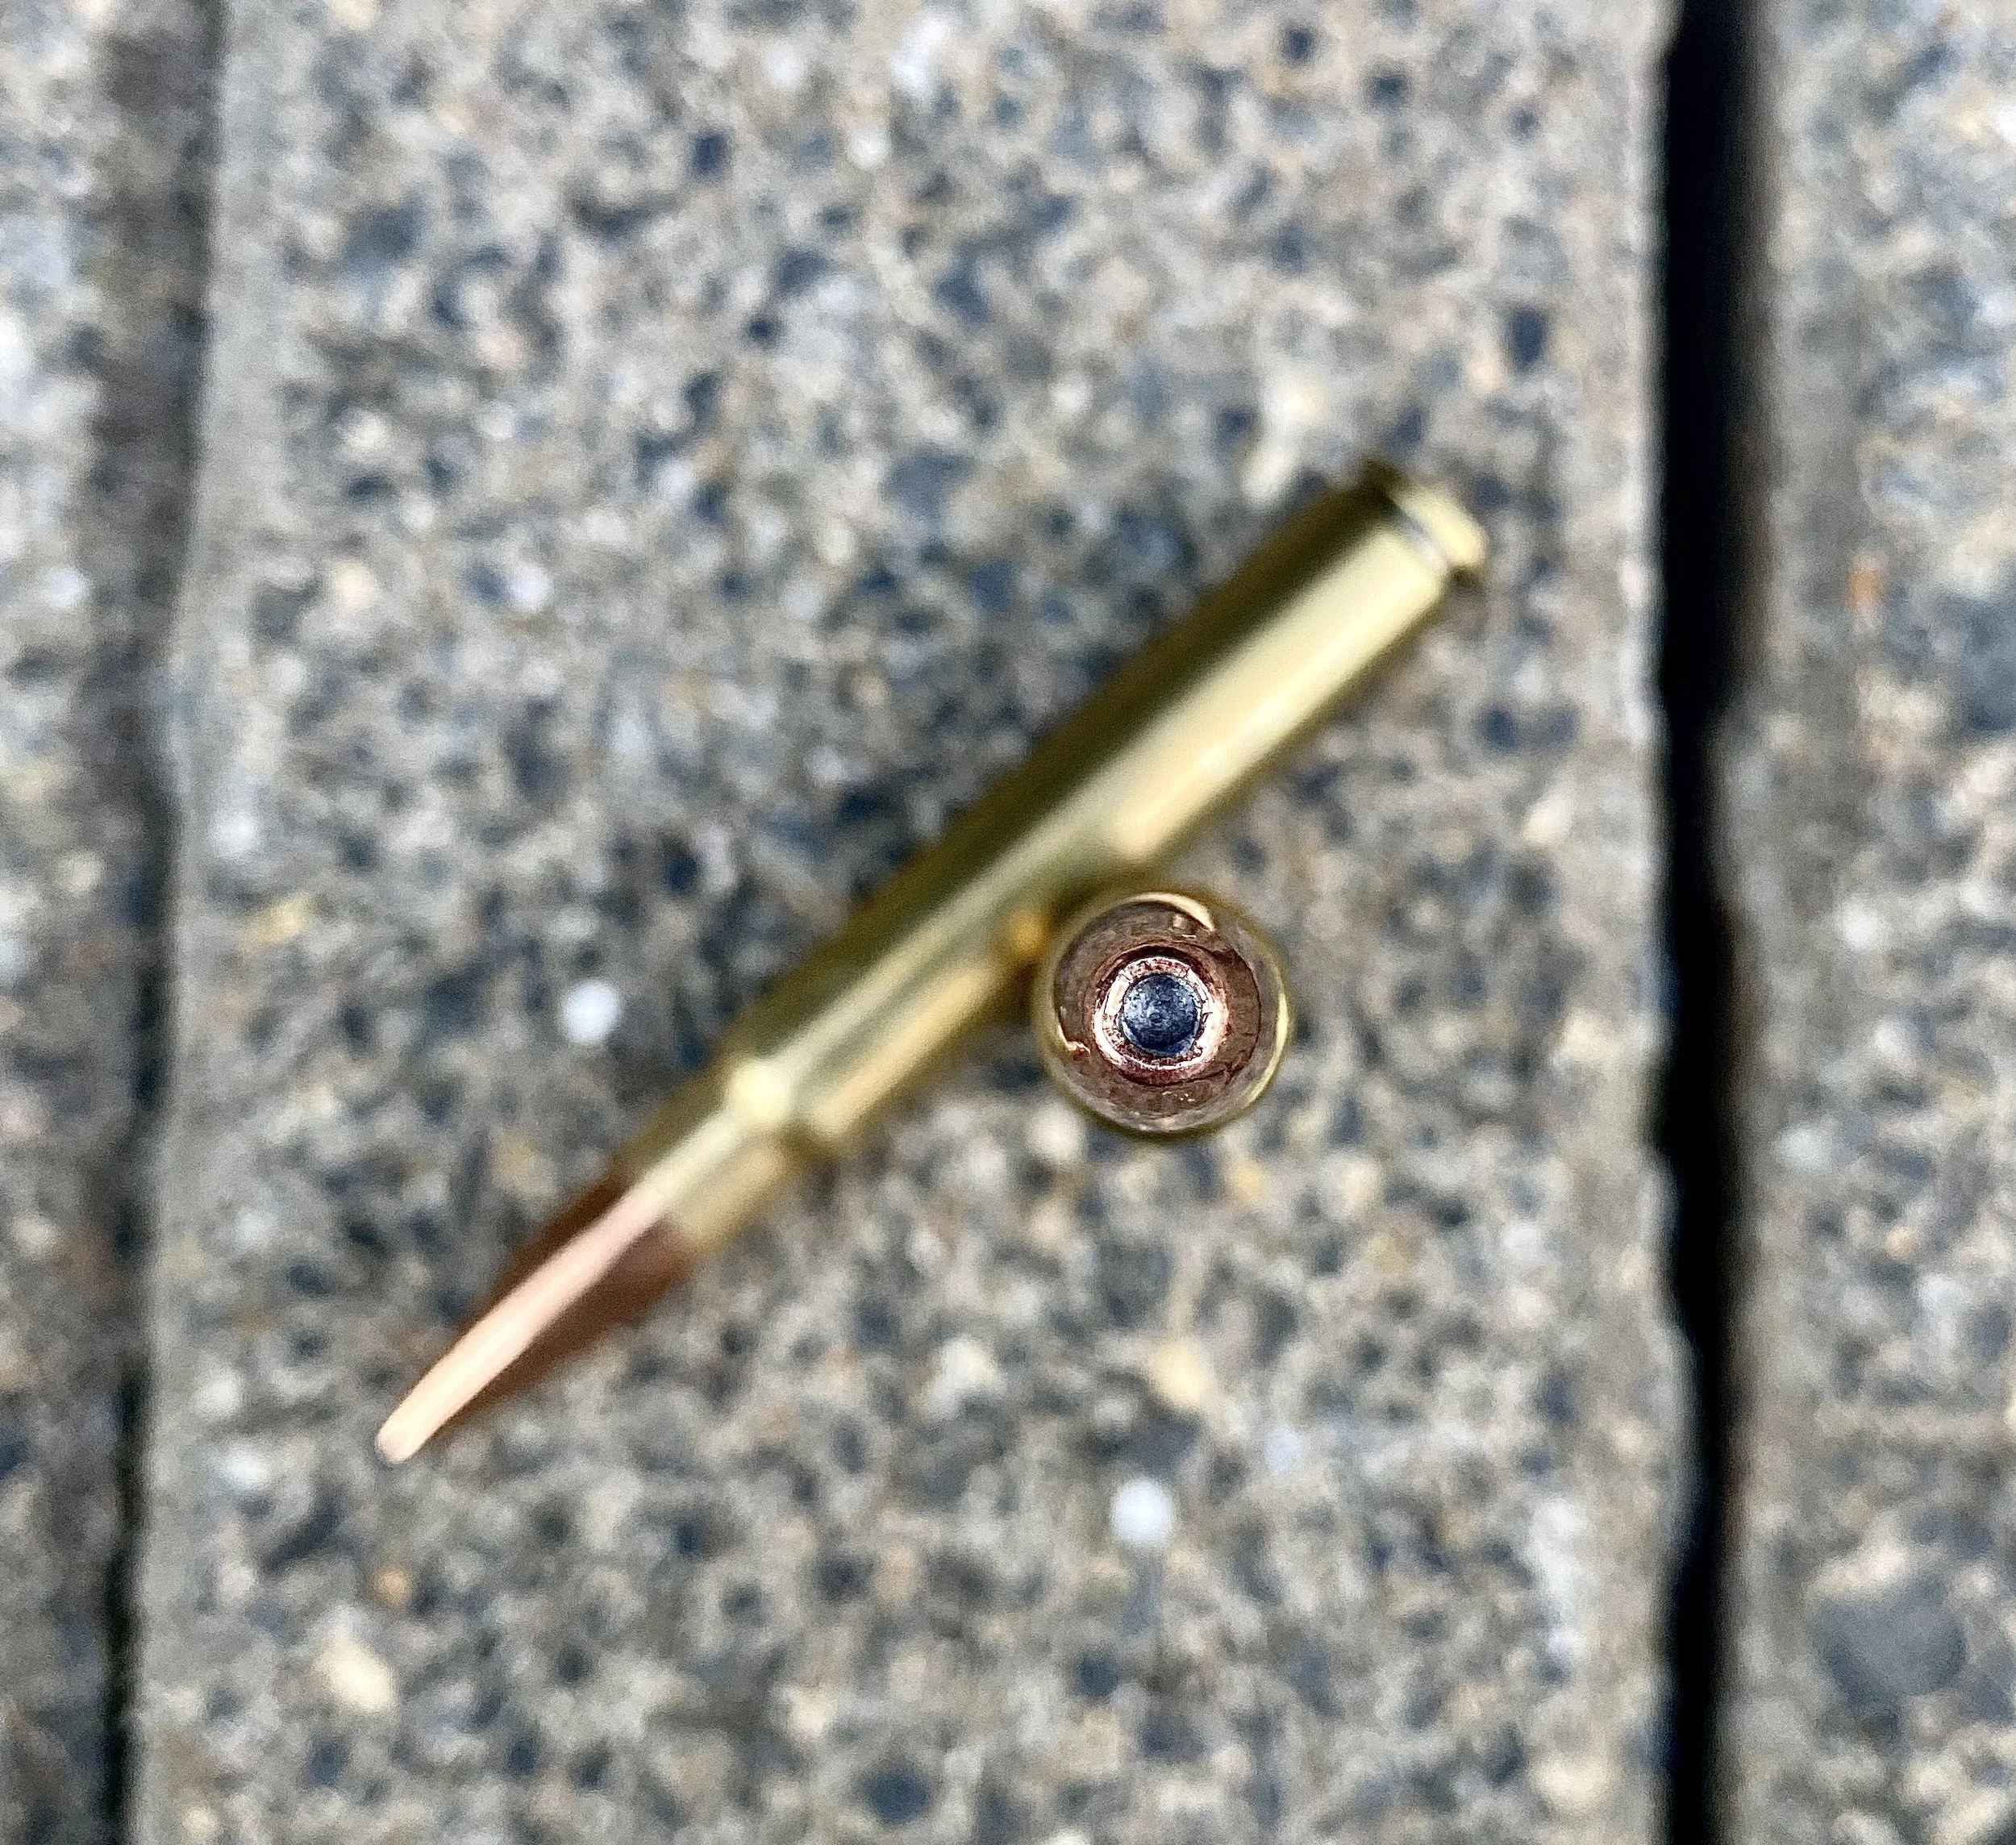
Two safari binoculars stacked one atop another show the little circles of light exiting the eyepiece lenses. These are the exit pupils.
Lower power means a brighter view, too, thanks to bigger Exit Pupils. These are the tiny circles of light you can see in the eyepieces. Hold any binocular about 18 inches from your eyes, pointed at a bright surface. The little white circles in the eyepieces are the “keyholes” you must look through. All the light from the reflected image streams through them. They should be 4mm to 5mm wide for effective brightness through legal hunting hours, roughly 30 to 45 minutes after sunset. Here’s a simple way to measure EP diameter: Divide the objective lens diameter in millimeters by the power and the answer will be the EP diameter in mm. A 10x42mm binocular yields a 4.2mm EP. An 8x42 makes a 5.25mm EP and an 8x32mm has a 4mm EP. The difference is due to the size of the objective lenses and the power. The larger the objectives, the more light that gets in. The higher the magnification, the less light that gets out (smaller EP.) Always divide objective lens diameter by power to get diameter of EP. You can see how this works in my short video on You Tube:Best Binocular for Youhttps://www.youtube.com/watch?v=7tgn0zY80ns
Diopter Adjustment Complications

An essential but seldom-used feature on binoculars is the diopter adjustment. This thing changes the focus of one eyepiece to compensate for the visual acuity differences between your eyes. This is much the same thing corrective eyeglass lenses do. To use the diopter adjustment, you're supposed to focus the binocular with the main focus wheel while looking through the non-diopter barrel. Then close that eye and focus the other barrel using the diopter adjustment. After that, the center wheel will focus both barrels in concert for your sharpest view. Unless one of your eyes is declining rapidly, you don't have to make a diopter adjustment more than once every few years, maybe not for decades. So it's not like this needs to be super handy. Traditionally the diopter adjustment was done via a small ring around one eyepiece. It turned quite stiffly because you didn't want it shifting once set. End of problem. But, for some reason (probably because they had to flex their muscles,) binocular engineers began concocting elaborate ways to adjust diopter. Most of these involve a wheel next to or incorporated with the main focus wheel. To activate you push or pull the wheel before turning, then snap back for the main focus work. The problem I routinely have with these is accidentally bumping them into battery, then changing diopter of one barrel while thinking I'm focusing the entire binocular. The upshot is wasted time and often a wasted viewing opportunity. You might want to consider this when shopping. Alas, many top line binoculars have this feature. On some I've had to tape it down! Others seem a little more stable, but none as simple and effective as the old thin ring around one eyepiece. I wish engineers and manufacturers would stick to the KISS system: Keep It Simple, Stupid.
Best Safari Binocular is Dustproof, Waterproof, Fogproof

Get one of these attributes and you generally get all three, and nearly all binoculars now advertise them. But there are degrees of waterproof-ness. The deeper the water, the more likely a seal will leak because pressure increases. You might fall into a lake or river and go 10 feet under for a few seconds, but most likely you’ll just get rained on, so don't feel as if you need a "waterproof to 30 feet for 30 minutes" guarantee. By the way, to test the waterproof guarantee, submerge your binocular in a sink of water right after you get it. If it leaks, you'll have time to return it for refund, replacement or repair.
Fogproof means the instrument isn't supposed to fog internally, which happens if there is warm moisture inside and you drag the binocular into cold air. Virtually all binoculars prevent this by sucking the air out and replacing it with nitrogen or argon gas. As long as the seals hold and no humid air leaks in, they shouldn't fog internally. External lenses can still fog if they’re cold and you breathe on them, but that won’t happen often on safari. Special external lens coatings like Swarovski's Swaroclean, Leupold's Guard-iON, Zeiss' LotuTec are so hard and slippery that fog droplets can't easily cling to them. Instead of fogging, the droplets coalesce into larger drops and roll off. This isn't often needed in a safari binocular, but will be when you get home for your fall and winter North American hunts.
Armor Up Your Best Safari Binocular

Virtually every binocular these days wears a rubberized cover. These enhance grip and protect against dings and scratches, but they aren’t exactly a Star Trek force shield. Don't go pounding nails and bashing rocks with them. Still, armor coatings are worth getting. So are twist up eye cups. Roll up-and-down rubber eyecups seem adequate until they age a bit and begin to crack. Twist up cups are more durable and useful, especially the ones that lock into positions. The reason for adjustable eye cups is to accommodate different eye-socket depth and eyeglass wearers. At the right extension, eyecups can prevent oily eyelashes from smearing eyepiece lenses, too. Cup rims should be rubberized to prevent scratching eyeglasses. Press eye cups against your glasses or brow to help reduce vibrations.
Another useful protector is an eyepiece cover of some kind. I don't use objective lens covers because those are always pointing down while I wear the binocular. The eyepiece lenses, however, point up at my chin and catch everything from leaves and falling road dust to nose drippings and crumbs form a mid-morning snack. You want eyepiece covers that stay on, yet come off with a flick of a thumb. Study these carefully when shopping. Some are hard and don’t grip well enough to stay on. Others are too soft and difficult to attach in the first place. You might find an aftermarket binocular pouch or cover a better option than eyepiece covers. They’ll offer better dust protection for the entire instrument, too, but might slow down employment, so test carefully. I want my binocular to be instantly ready. I don't want to have to zip them from a case.
Make a Common Sense Compromise in Your Safari Binocular Size and Power

When you travel, everything becomes a compromise. Over the years I’ve discovered I find, watch and enjoy glassing more wildlife with an 8x32mm binocular than any other. Why? Because it is the perfect compromise among weight, portability, brightness and field-of-view. A 10X would add a bit of reach, a 50mm objective a bit of light, but the additional size and bulk would tempt me to leave them in the truck more often. A 6X would give me a bit more field-of-view, but I might regret them when trying to identify small antelope 400 yards across a meadow. Consider such practical matters when choosing your best safari binocular, but do not leave home without one. You’ll see and enjoy so much more with magnified vision. You'll actually get more hours of use out of your binocular than your rifle and scope.
Conclusion

This is a Swarovski EL 8x32 binocular, what the author considers the prefect safari binocular.
The most popular all-round binocular is the roof prism 8x42 or 10x42. Because of weight, size and travel convenience issues, my favorite safari binocular is an 8x32 roof prism with phase-coated Schott glass (the best) BaK4 prism glass, dielectric mirror, field flattener lens, and fully multi-coated lenses with an HD/ED lens to minimize color fringing. Yowser! This instrument is incredible, and the view through them almost takes your breath away.
International hunter an optics connoisseur Ron Spomer reviews optics for publications such as American Hunter, Gun Hunter and Sporting Classics. But he'd rather just take them on safari.